How to Create a Sensory-Friendly Homeschool Space (That Actually Works for Autism & ADHD)
Why Your Homeschool Environment Matters More Than You Think
Have you ever noticed your child squirming during lessons, zoning out, or suddenly melting down over a “small” trigger like a buzzing light or scratchy shirt tag?
If so, you’re not alone. As a homeschool mom to three neurodivergent kids—including my daughter, who navigates autism, ADHD, and social anxiety—I’ve learned that a sensory-friendly homeschool space isn’t just a luxury. It’s a necessity for helping our kids (and ourselves!) stay regulated, focused, and ready to learn.
But here’s the good news: You don’t need a Pinterest-perfect classroom or a massive budget. In fact, the most effective spaces are often simple, flexible, and tailored to your child’s unique needs. Today, I’m sharing practical, battle-tested strategies to transform your home into a calm, sensory-smart learning zone. Let’s dive in!
Step 1: Sensory Triggers Can Be Identified and Minimized
Before rearranging furniture or buying supplies, take a breath. The first step to creating a sensory-friendly homeschool space is observation. Neurodivergent kids often experience sensory input differently—fluorescent lights might feel like strobes, or a distant lawnmower could sound like a jackhammer. By pinpointing these triggers, adjustments can be made to reduce overwhelm.
Lighting: The Silent Stressor
Harsh overhead lighting is a common culprit. In our home, fluorescent bulbs were replaced with soft, dimmable lamps and natural light filters. Studies show that warm, indirect lighting can reduce anxiety and improve focus in children with sensory sensitivities. For screen time, blue-light-blocking glasses are introduced to minimize eye strain.
Pro Tip: Observe your child’s behavior. Do they squint, shield their eyes, or avoid certain areas? These are clues that lighting adjustments are needed.
Noise: Taming the Chaos
Background noises—like clattering dishes or siblings playing—can derail focus. In our homeschool, noise-canceling headphones are kept on hand for my daughter during independent work. Meanwhile, a white noise machine is strategically placed to drown out unpredictable sounds (looking at you, garbage trucks!).
Quick Fix: If headphones aren’t an option, soft instrumental music or nature sounds can be played to create a calming auditory backdrop.
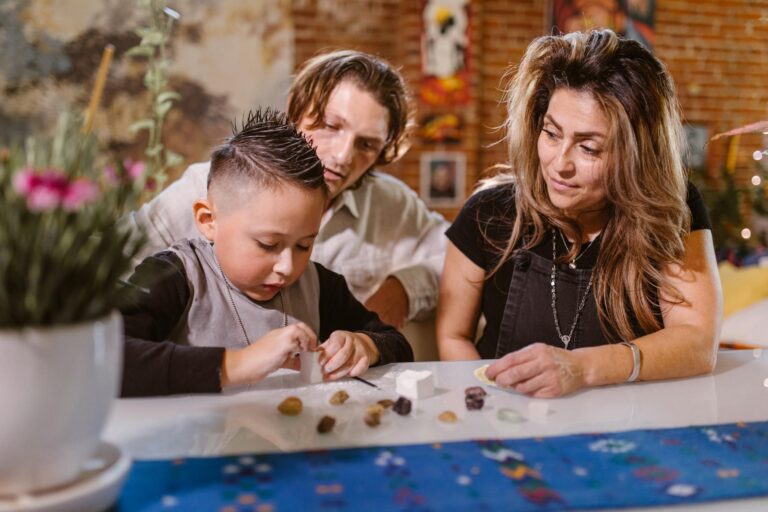
Textures and Touch: Comfort Is Key
Scratchy rugs, stiff chairs, or restrictive clothing can hijack your child’s attention. In our space, a mix of seating options is offered: floor cushions, a wobble stool, and even a beanbag for reading time. Textured fidget tools, like silicone chewelry or stress balls, are also provided for tactile input.
Personal Story: When my daughter struggled to sit still during spelling lessons, a wobble cushion was introduced. Within days, her focus improved—and my sanity was saved!

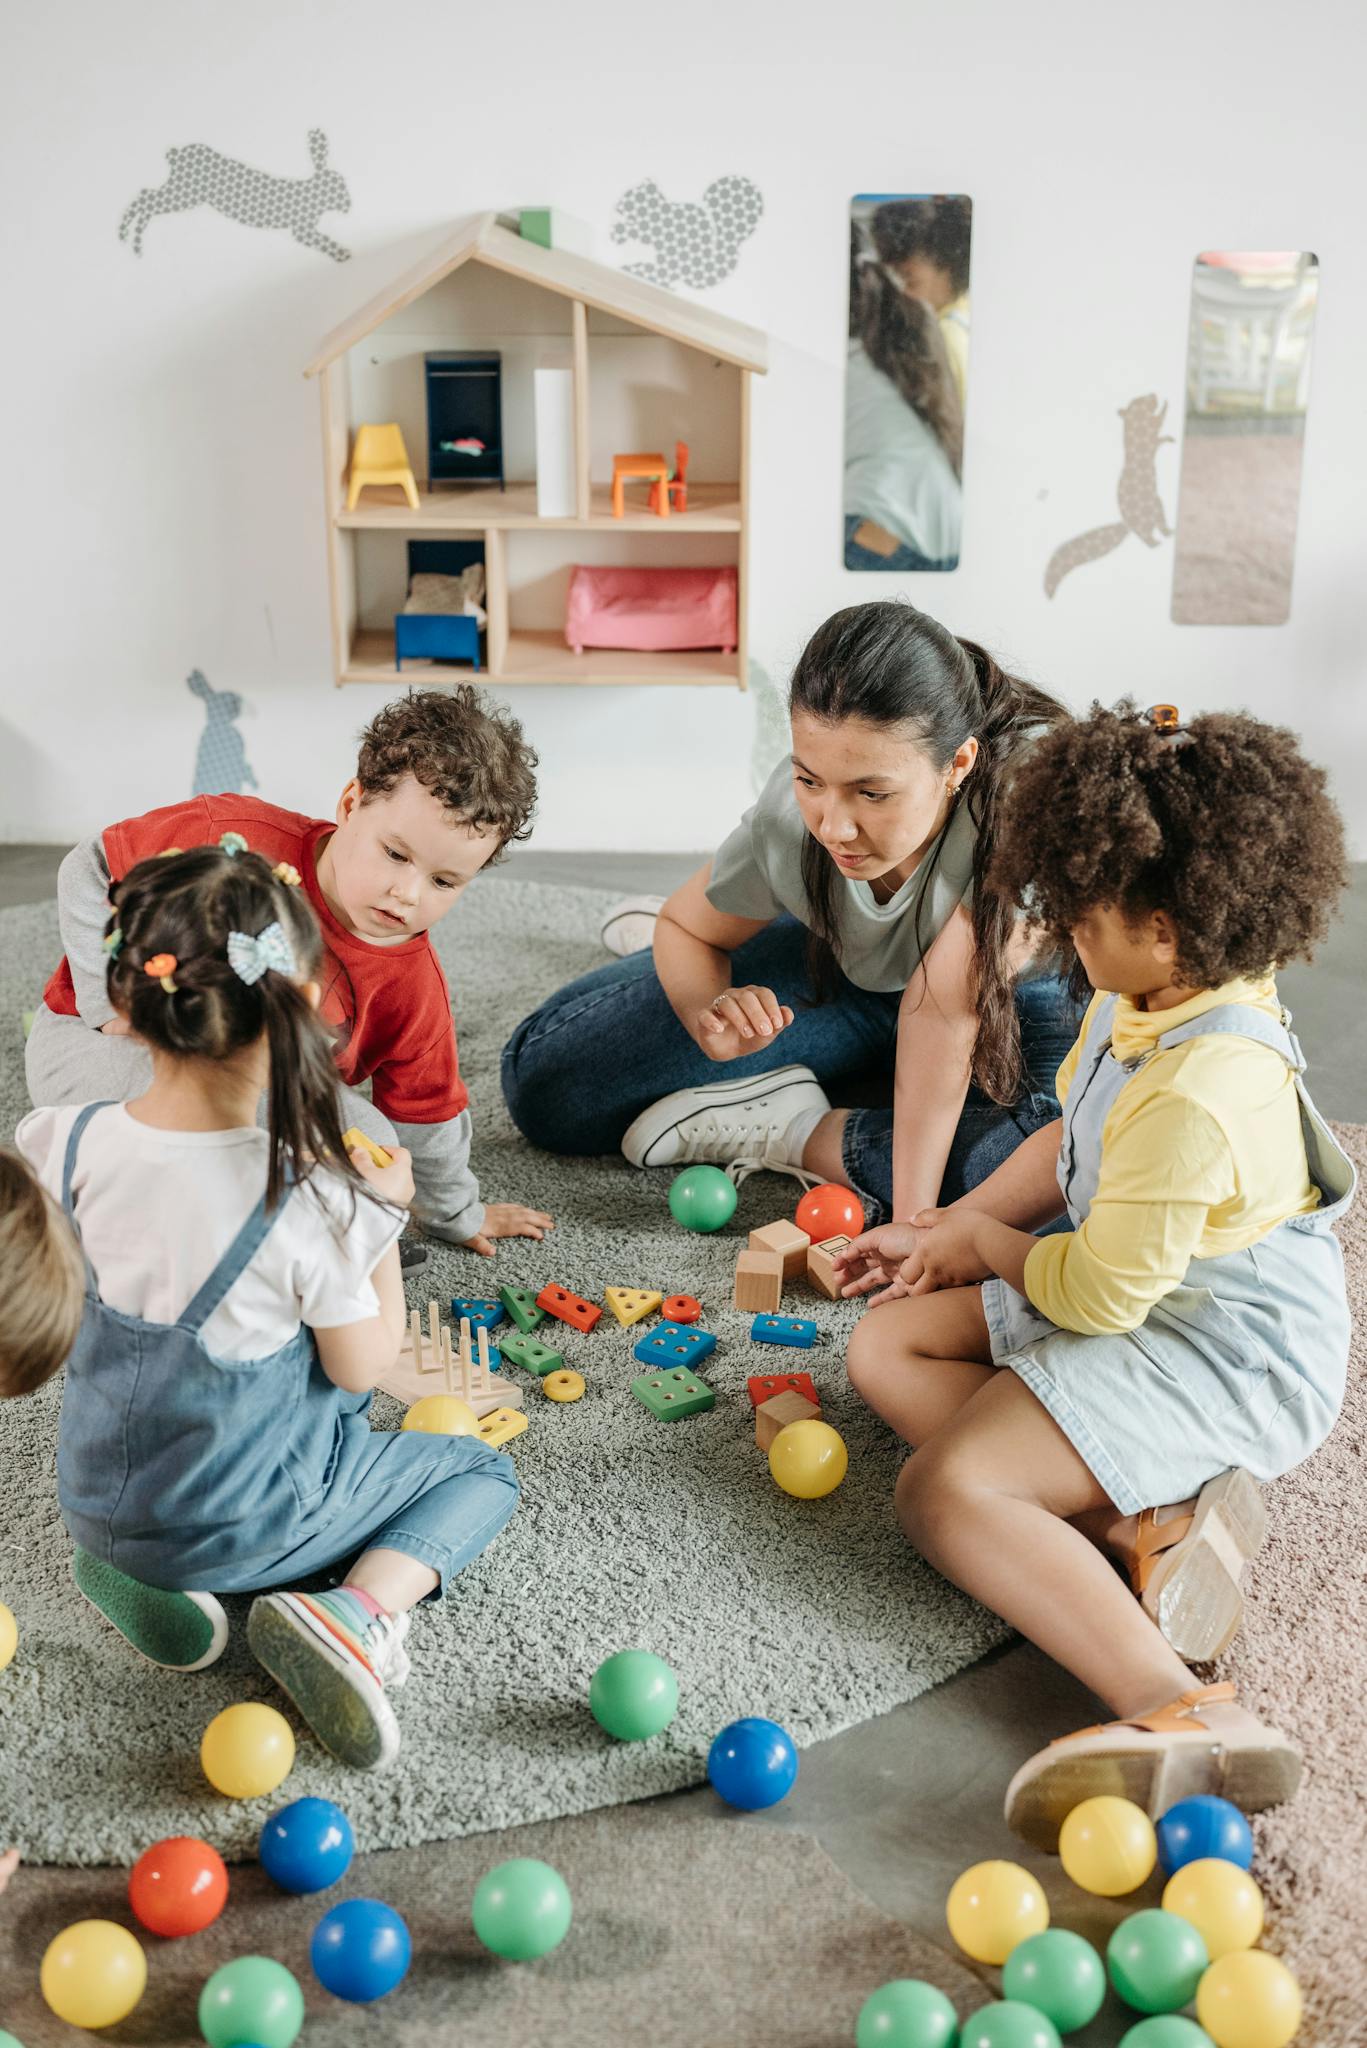
Step 2: Designing Zones for Focus and Calm
A sensory-friendly homeschool space thrives on structure and flexibility. Instead of a one-size-fits-all setup, zones can be created to match different activities and moods.
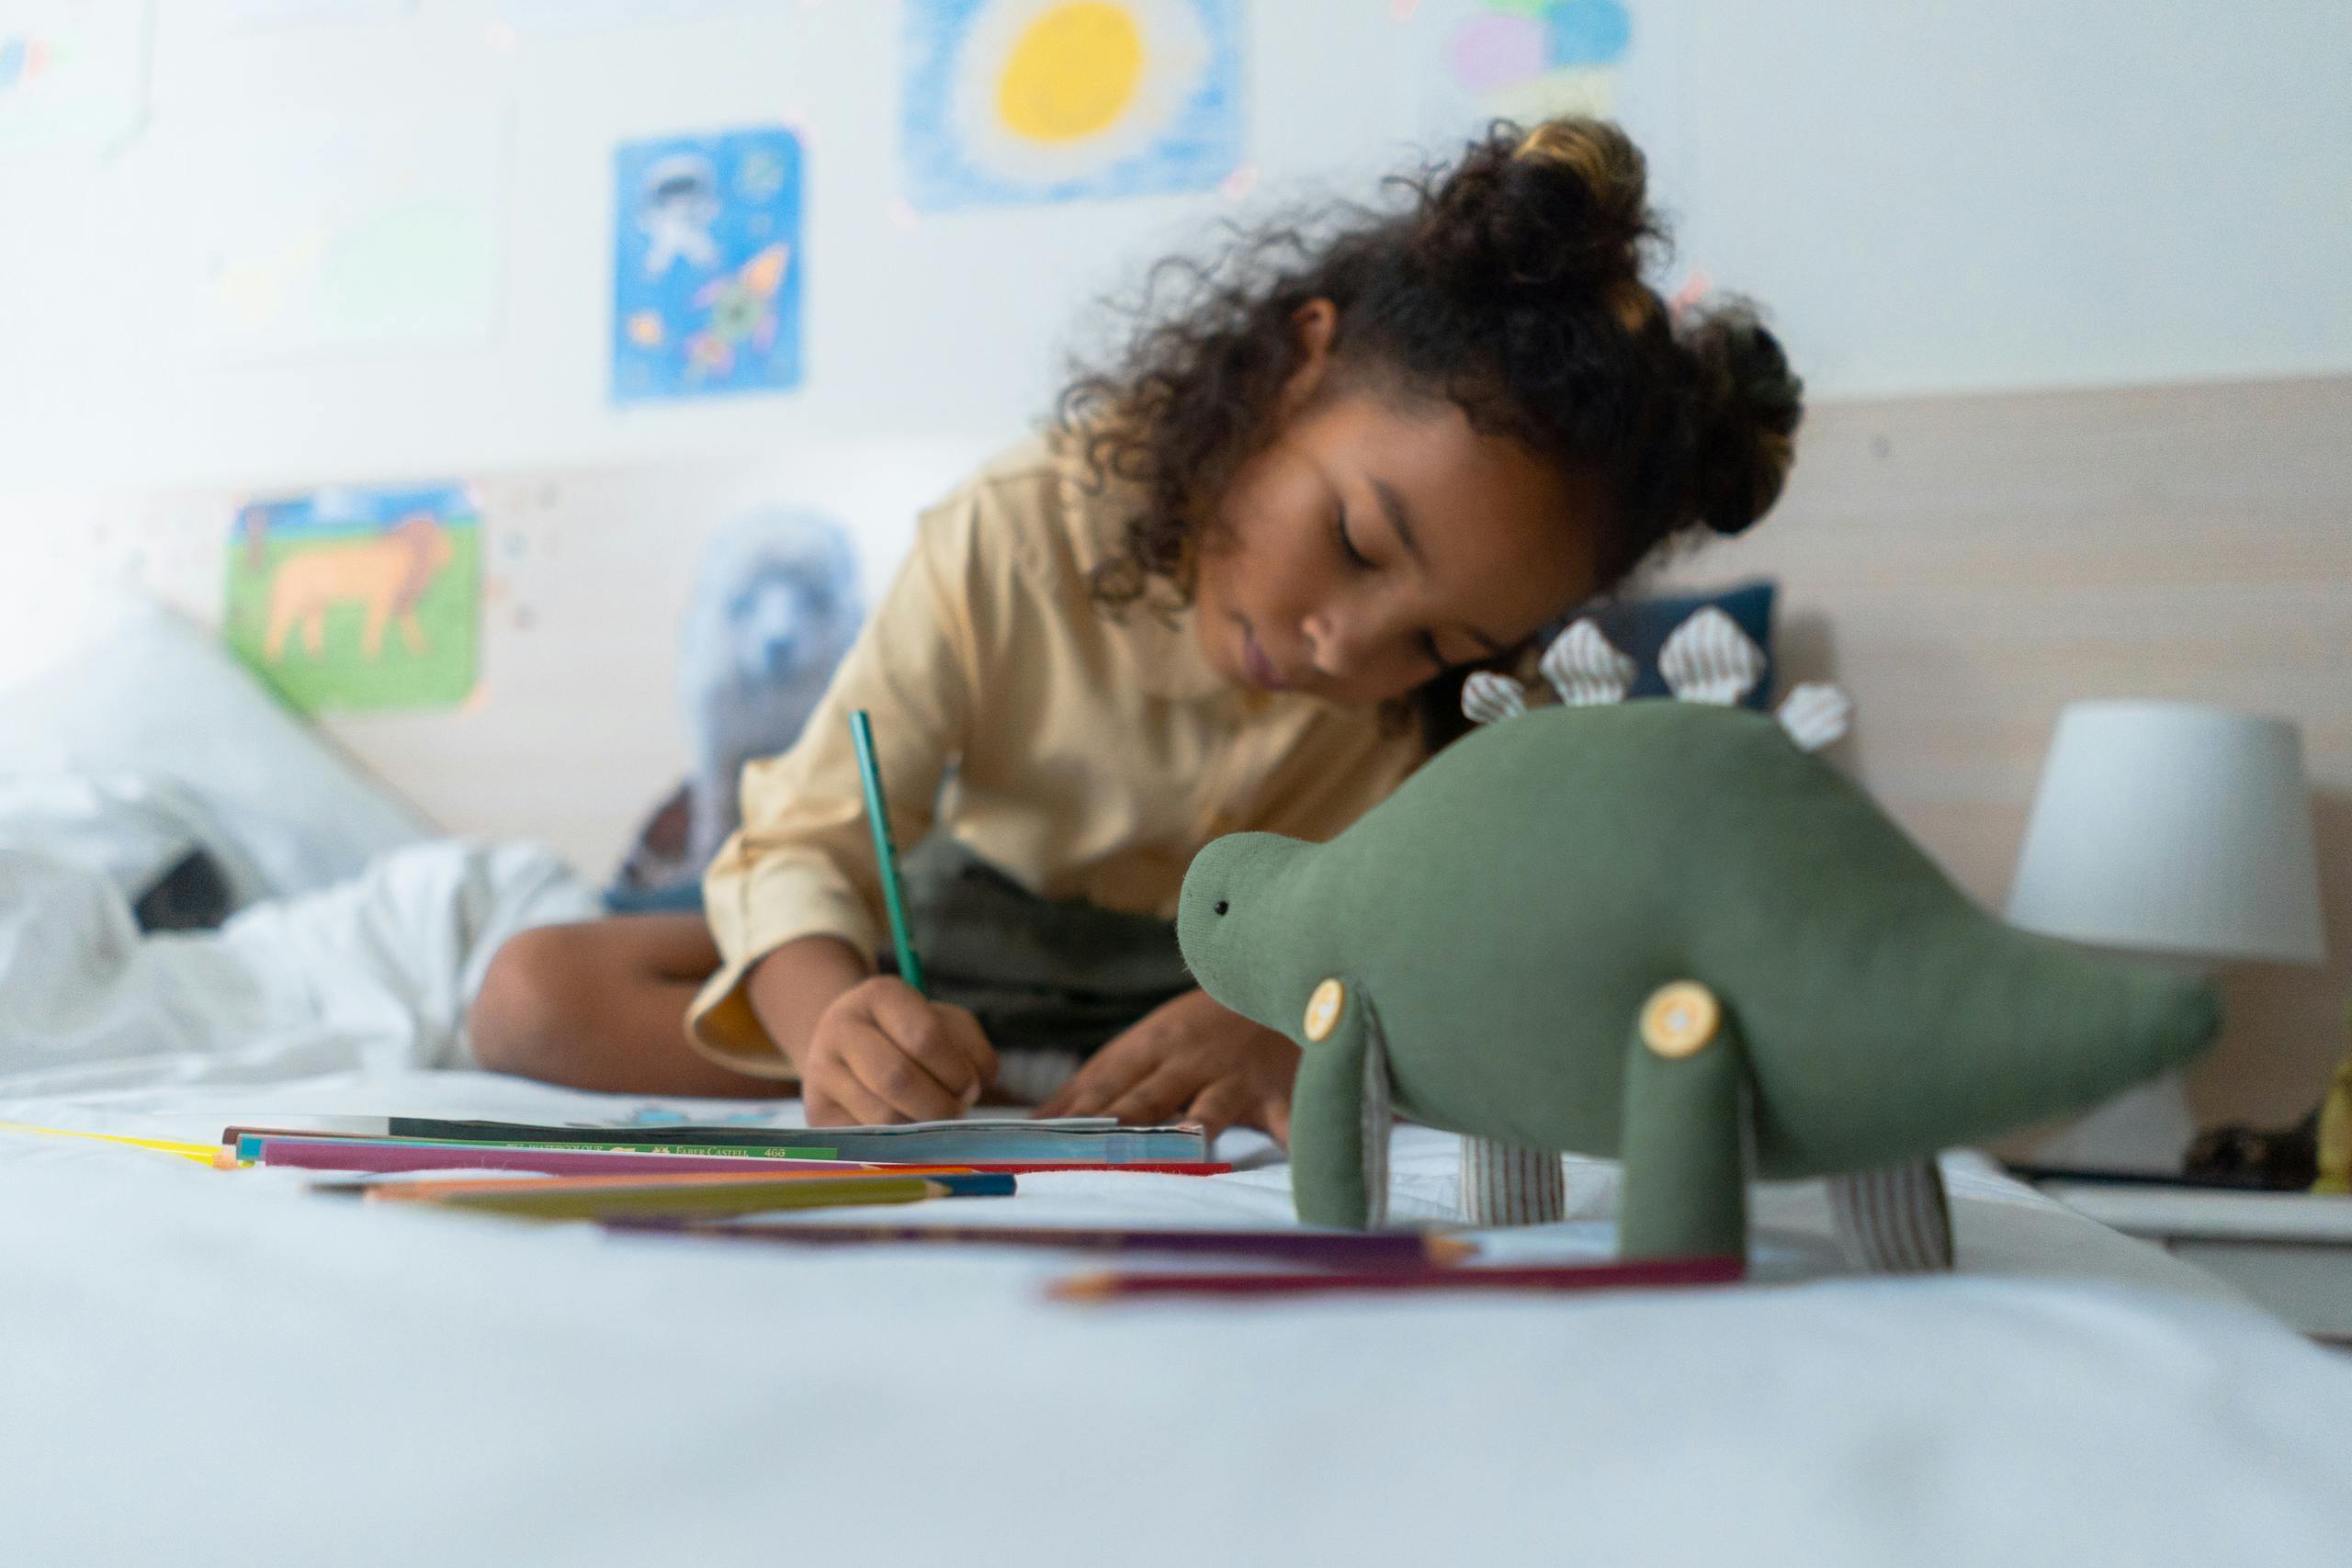
The Focus Zone
This is where “brain work” happens. Keep it simple:
- A clutter-free desk or table with only essential supplies.
- A visual timer to break tasks into manageable chunks.
- A “stoplight” system (red = no interruptions, yellow = ask first, green = open for help).
The Calm Zone
Every child needs a safe spot to reset. Ours includes:
- A pop-up tent filled with weighted blankets, stuffed animals, and a calming glitter jar.
- A laminated emotions chart with coping strategies (“Take 5 breaths,” “Squeeze a stress ball”).
- A sign that says, “My body needs a break”—no questions asked.
Budget Hack: Repurpose a closet, corner, or even a large cardboard box as your calm zone. Add string lights and favorite books for a cozy vibe.
The Movement Zone
Kids with ADHD and autism often need to MOVE to learn. Dedicate a space for:
- Yoga mats for stretching or bouncing.
- An indoor trampoline or balance beam.
- DIY obstacle courses (pillows, tape lines, hula hoops).
Pro Tip: Rotate activities weekly to keep engagement high.

Step 3: Budget-Friendly Hacks You Can Try Today
You don’t need to splurge to build a sensory-friendly homeschool space. Here’s how to DIY like a pro:
Repurpose What You Own
Turn a laundry basket into a “focus fort” with blankets and clip-on lights.
Use shower curtains as wipe-clean work surfaces.
Convert a muffin tin into a tactile sorting tray (pom-poms, beads, buttons).
Dollar Store Wins
Felt boards for visual schedules ($3).
Blackout curtains to soften lighting ($5).
Plastic bins for organizing supplies ($1 each).
Free (or Almost Free) Sensory Tools
Nature’s textures: Pinecones, smooth stones, or sand for tactile play.
DIY weighted lap pad: Fill a sock with rice and tie it off.
Calming scents: Lavender sachets or citrus peels in a mesh bag.
Reader Challenge: Share a photo of your DIY project in the comments—let’s inspire each other!

Step 4: Avoiding Common Mistakes (Lessons from My Failures)
I’ve made plenty of mistakes over the years. Learn from them:
Mistake 1: Over-Decorating
Too many posters, bright colors, or clutter can overstimulate. Opt for neutral walls and minimal decor.
Mistake 2: Ignoring Your Own Needs
If you’re stressed by the environment, your child will feel it. Add a comfy chair, plants, or a coffee station for yourself.
Mistake 3: Rigid Rules
Flexibility is key. If your child thrives on the floor, let them work there! If mornings are chaotic, switch to afternoon lessons.

Conclusion: Progress Over Perfection
Creating a sensory-friendly homeschool space isn’t about achieving Instagram-worthy aesthetics. It’s about crafting a supportive environment where your child feels safe, regulated, and ready to learn. Start small: adjust one light, introduce one fidget tool, or carve out a tiny calm corner. Celebrate every tiny win—because those add up to big transformations.
Your Turn: What’s one change you’ll make this week? Share below, and let’s cheer each other on!